Although my skimmer was working adequately, it definitely could be improved. My primary complaints were:
So I built a new skimmer. I went with a centrifugal design, so the water whirls around inside a large tube, giving it much more time to mix without the need for a really large box or column. The water enters the mixing chamber from the overflow and from the venturi, at about the same level as the rest of the water in the sump. The added pressure of the venturi pump raises the level in the skimmer by just a few inches, just to the bottom of the foam riser column. This produces much more air flow.
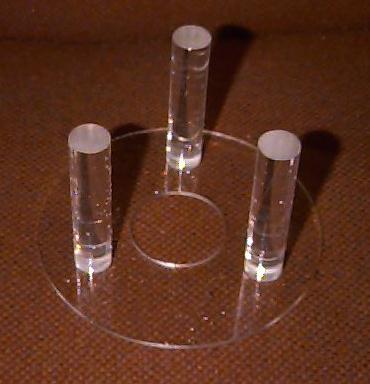
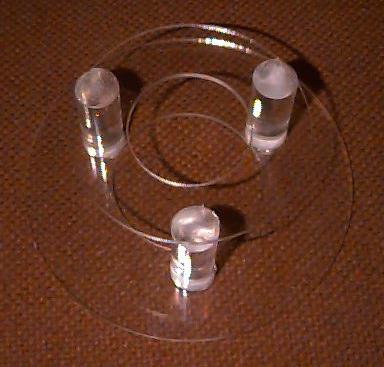
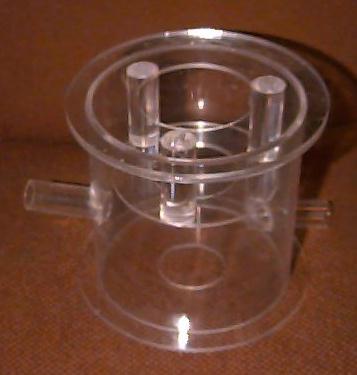
One of the hurdles in designing this skimmer was in reducing the flow of water near the column and near the drain. Too much motion near the column prevents the foam from settling, and too much motion near the drain results in many bubbles exiting into the sump. As you can see from the later photos, I used some inserts with rods to dampen the flow in these areas, and it worked well.
For the venturi, I use a Rio 2100 with its native venturi. The short tube between the pump and the skimmer is solid white with bubbles. I don't yet have an estimate on the rate of air flow.
Here are pictures and designs of the various parts, from bottom to top:
| Plans | The outlet stage, with the gate valve. |
| Plans | The insert for the outlet stage. |
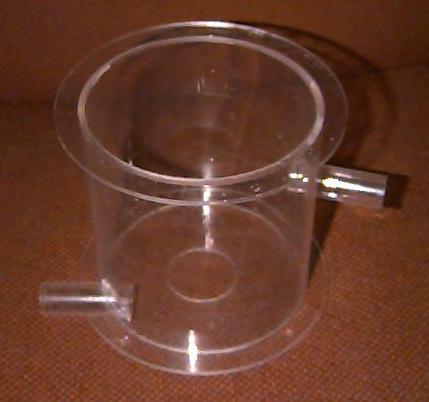
| Plans | The mixing stage. |
| Plans | The insert for the mixing stage. |
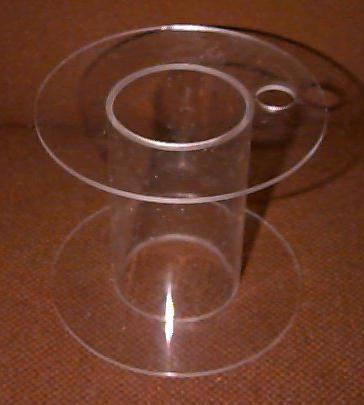
| Plans | The foam riser. |
| Plans | The collection cup. |
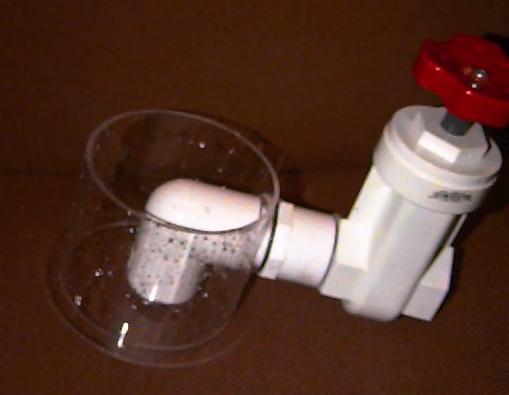
The inserts just sit within the other sections, as you can see from these photos:
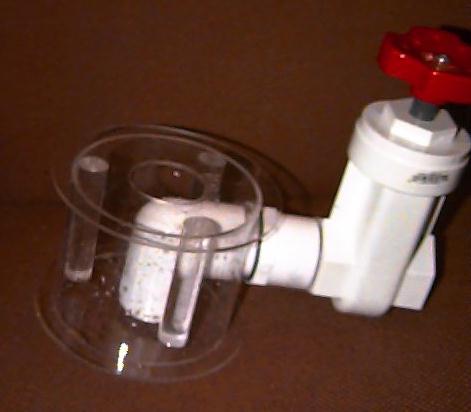
Note that I didn't put a flange on the top of the outlet stage. There probably should be one, but I was out of disks. Since the whole stage is submerged, and since I was getting a reasonable seal anyway, I put it off for now.
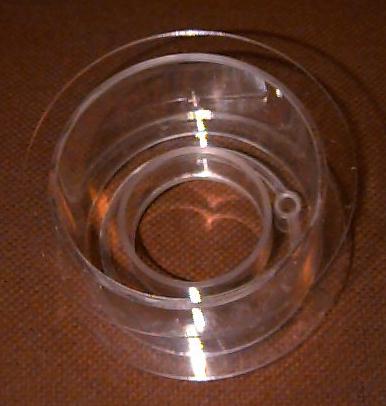
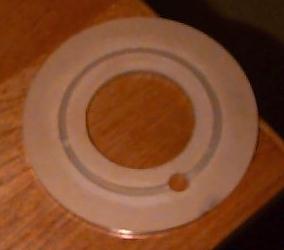
I also cut a furrow in the bottom of the collection cup, in a thicker acrylic disk. The furrow is deeper where the drain tube is. This is intended to facilitate draining of the cup. I think it helps...
And this is what it all looks like assembled:
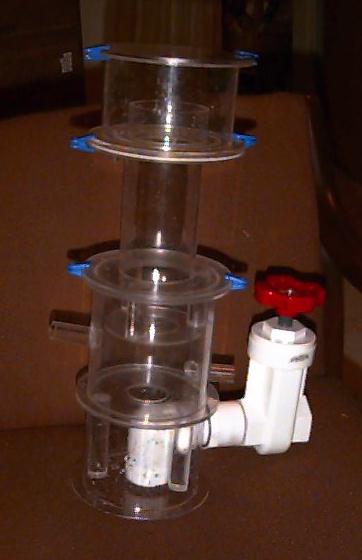
Note that I only have one gasket, between the upper flange of the riser column and the lower flange of the collection cup. The acrylic flanges make a fine seal by themselves when held together. It might be a good idea to use some thin gaskets anyway - maybe later. Also, there are no clips holding the outlet stage insert flange and the lower flange of the mixing stage. I misplaced my all-plastic clips (suitable for submerging) at the time this photo was taken.
Finally, here are some photos of the skimmer after a couple days of operation. Note that I also made a simple container for collecting the skimmate that sits on top of the lower flange of the riser column. This just turned out to be simpler and cleaner than running a tube outside the sump.
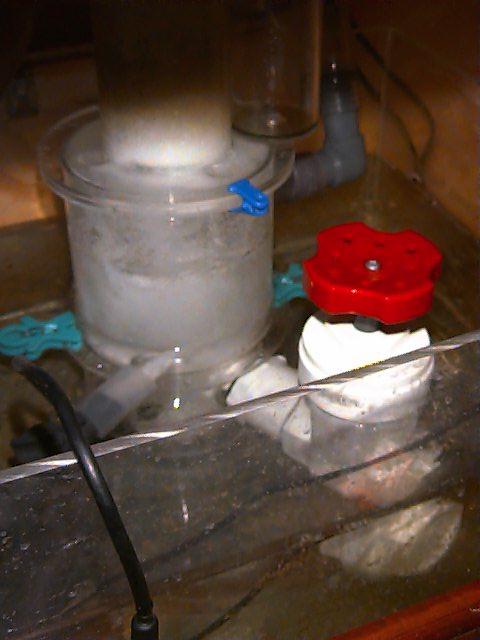

I like how I can orient each part of the thing independently of the other parts. This makes installation a bit easier. It's a lot more interesting to watch, too, with all the swirling going on.
The foam collects nicely at the bottom of the column. The swirling action causes the foam to settle in the center. The inserts with the rod dampers do a great job of regulating the amount of water action at the bottom of the riser. The amount of skimmate in the collection container is from about 20 hours. I'm getting more than I did with my other skimmer, and it's darker.