First of all, you need to select the right metal can for the job. Most important is the artwork; remember that you will be having to work with this can for a number of years. Although the paint will slowly deteriorate, it will have a great impact on the quality of the pour and the experience as a whole for the lifetime of the furnace.
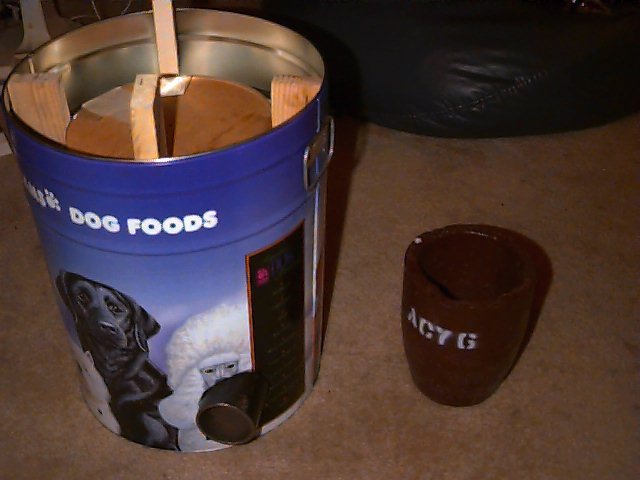
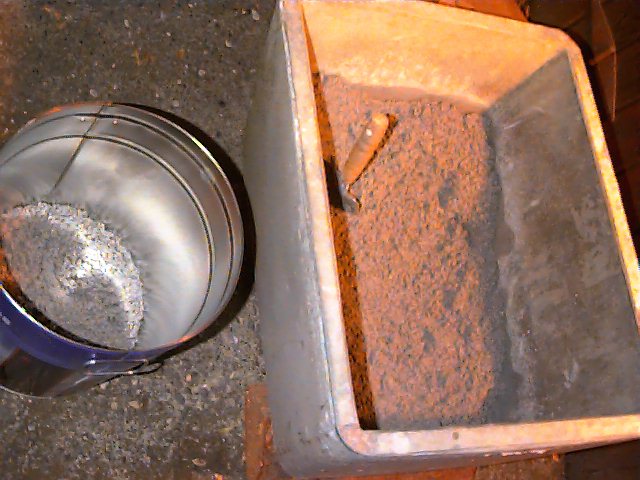
To prepare your beautiful can, you must make a pattern to fit inside it, with around 2 inches of space on the sides and bottom for the refractory. The refractory will be packed under and around this form, then the form will be removed. Ours was made from two plywood disks around which was rolled sheet metal. Here it is shown inside the can with sticks holding it centered. Note the nice crucible on the floor to the right.
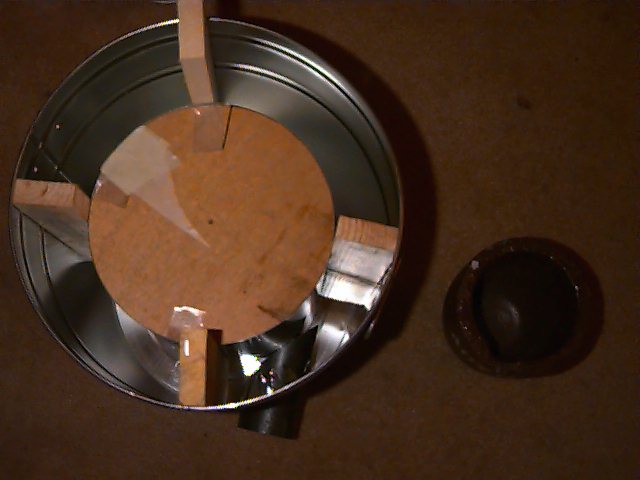
A black pipe was inserted in the side for the tuyere, in the poodle's face, as fate wold have it. The burner will slide in here. This allows us to remove the burner without damaging the refractory.
The lid from the can also needs a lining of refractory, as well as an opening for the exhaust gasses. This lid was quite thin, so we cut a strip of sheet metal to go around the side. The hole should be formed around a hard thing, such as a bottle, to aid in packing.
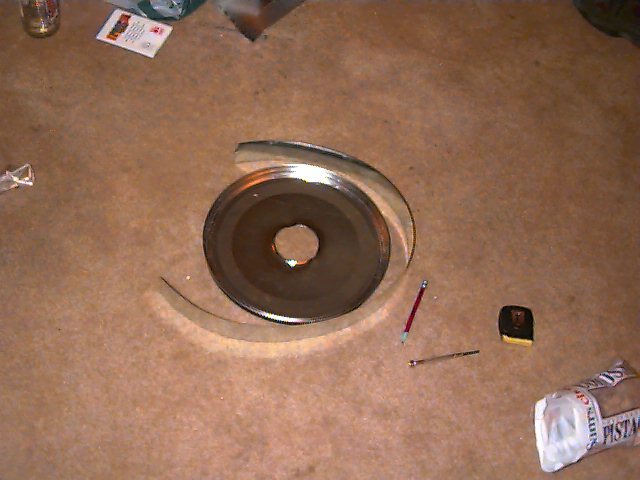
The sheet metal strip is then installed along the inner lip of the lid and pop-rivetted in place. Next comes the incredibly dangerous task of weaving stiff wire through holes drilled in the sides. This wire will support the refractory.
Here is a pic of the finished parts awaiting packing:
Now we move outside. For the mixing it is vitally important that you look at least as goofy as this:
For our first foundry, we used a simple mixture of sand, clay, grog, and water. It worked quite well, actually, but we wanted to try some industrial stuff this time. This new refractory is made in a factory and also contains small fibrous material, for strength. Several people have asked what kind it is... It's called Mizzou Castable Plus.
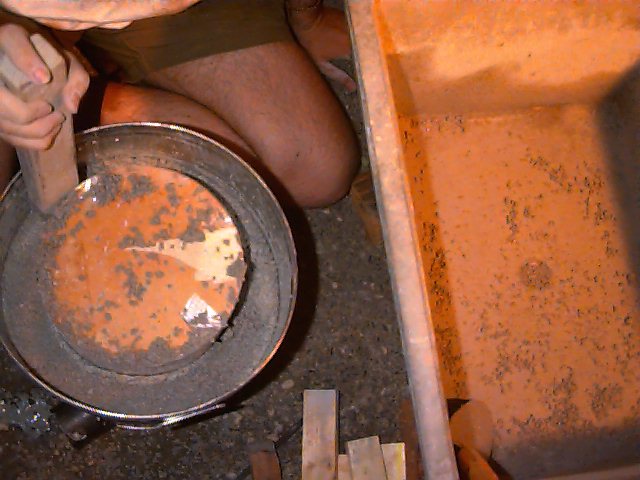
Here's a picture from above of Kurt mixing the refractory. It's still pretty dry...
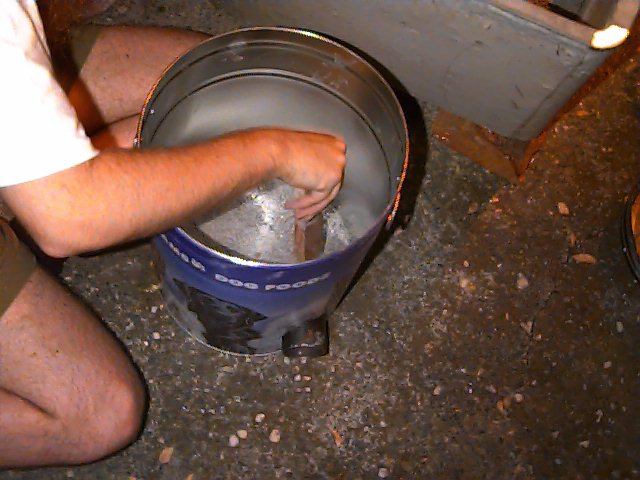
We have some ready refractory and have started layering it in the bottom of the can:
After adding about an inch or two of the fluffy dirt, it gets packed down. Then you add more....
Once the dirt is up to the bottom of the tuyere, and a couple of inches thick, we install the inner form with the sticks to help keep it in place:
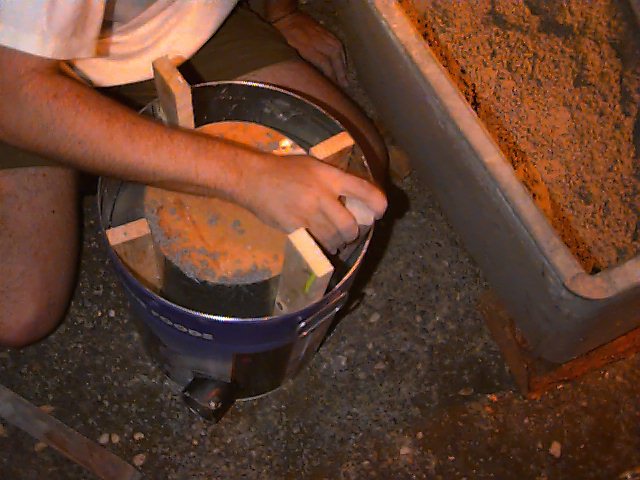
Slowly, the refractory is built up. Eventually the sticks have to be removed, and we find that we're out of dirt...
After mixing up some more, the can is soon completely full and the lid is started. Note the use of the bottle to keep a clear passage for the exhaust while packing:
Here is the final product, waiting to set. It's now quite late!
The next day, the cement has become rock hard, except at the very bottom of the furnace. Unfortunately, this refractory is much stronger than we had anticipated, and the bonding agent also much stronger, so that the internal form was difficult to remove. Also, the bottle that I had used in the lid was so firmly cemented that I had to break it and chip it out.
Here are pics of the finished product:

The last step, and a very important one, is to slowly bring the foundry up to temperature. First, we load a small charge of charcoal, light it, let it burn for a bit, and gradually add the blast. Then we add more charcoal and put the blast on full. All the water is out and now we are done!
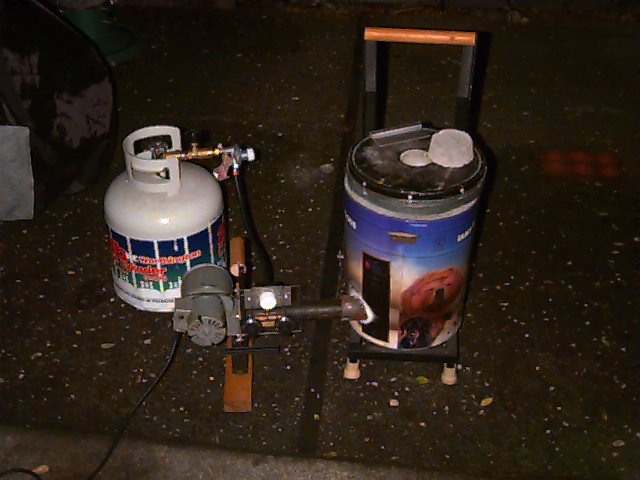
But wait! We can do better than charcoal this time. Luckily, Kurt made this propane burner:
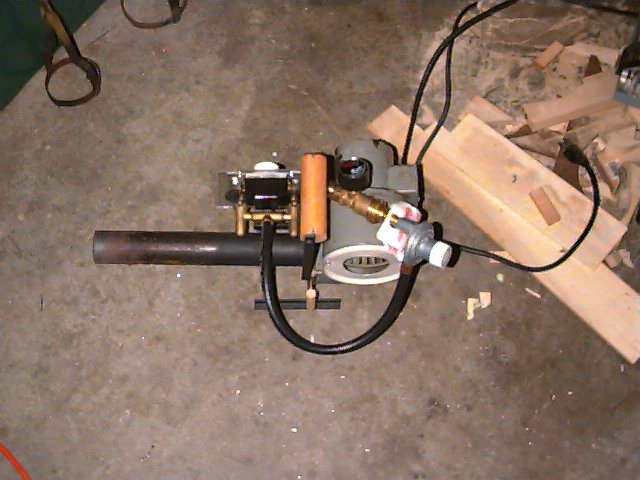
The nozzle contains a bunch of brass tubes, jammed into the end.
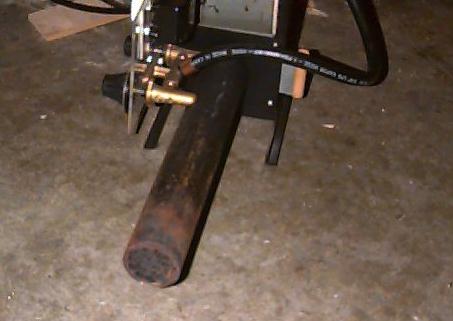
And here's a picture of it in use: